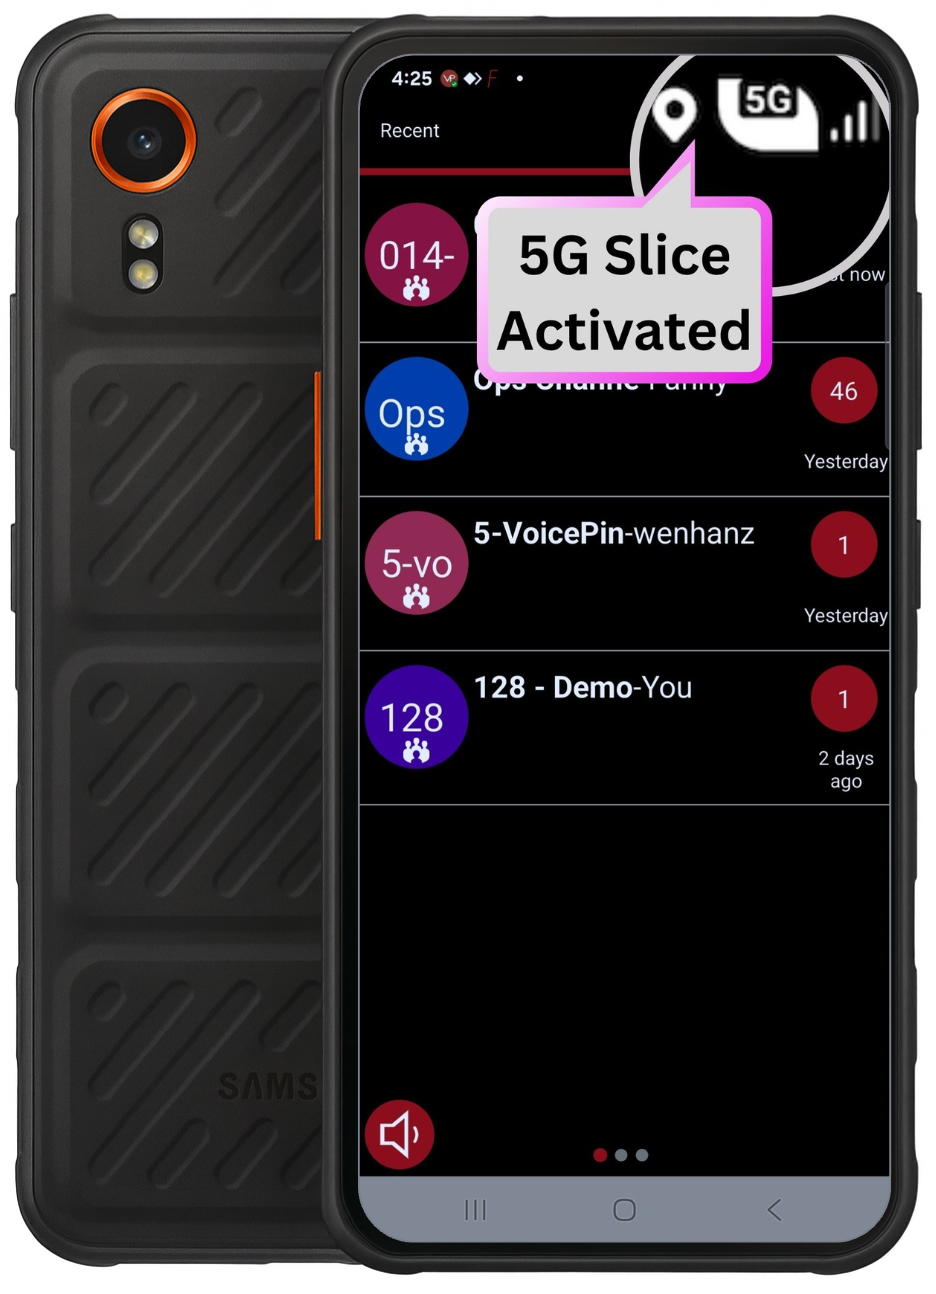
Thank you for purchasing VoicePing Teams!
- wenhan8
- Apr 8, 2021
- 3 min read
Updated: Mar 1, 2022
You need to activate the license first before you can use the device. Please follow the guide below to get started.
The VoicePing Teams device comes with a device license. This license can only be used on one device and will remain with that device for its lifetime. The device license needs to be activated by submitting an activation form. It will appear after you go through all the guide steps here.
This is an example of a VoicePing Teams device license:

The device license comes in the form of the account's login username and password. It will be sent to you via email upon the submission of your form.
Step 1: Update VoicePing app
Please make sure you have the latest version of the VoicePing app on your device. You can download or update the app from the Play Store. Open the Play Store app and search for “Voiceping.”

Click on the VoicePing app icon and press the Update button. If there is no update button, it means your VoicePing app is already updated to the latest version.

After you click on update, wait until the process finishes, then press the open button to launch the app.
Step 2: Open the activation form
Please open https://act.voiceping.info on your smartphone or computer to activate the license.

You can also open it with the VoicePing Teams device. Open the VoicePing app, click on the Login button and then click on the “Activate account” link.
Step 3: Fill in the IMEI and License Code

Upon opening the activation form, you will see several input boxes. The first two are for the IMEI and License code. You can find the IMEI and License code on user manual paper inside the box. It looks like this:

Step 4: Fill in your email address

The next input boxes are for your email address. A confirmation email with the login information will be sent here after you submit the form. If there were any errors in your submission, you will get an error message instead.
Step 5: Create or join a company
If this is the first device being registered for your company, select the option: Create a new company

After you select Create a new company, click on activate and then proceed to Step 6.

*If you have already registered another device with your company, select the option: Join an existing company

Once you select Join an existing company, two other input boxes will appear.

You can get the Company name and PIN from any existing member of the company. To get these, go to the VoicePing app home screen, click on menu (the “⋮” icon on the upper right corner) and then click on Invite Friends.

Step 6: Check login info on email
If the activation is successful, you’ll get a message with the login info sent to your email. If it doesn’t appear in your Inbox, please check your All Mail or Spam folder. You can also search for the email with the subject “Your VoicePing Device License is activated” from the sender “VoicePing Activation.” If you still aren’t receiving it, please contact VoicePing at sales@smartwalkietalkie.com.

IMPORTANT :
This login detail (or device license) can only be used for the device whose IMEI and License code were registered in the activation process. You cannot use the login detail for other devices. This device license will be valid for the lifetime of the device.
Please store this email and the account information carefully, you might need it in the future in case of issues.
Step 7: Logging in
Open the VoicePing app and click the Login button.

Then you can use the login information provided in the email you received to log in.

If you create a new company, in the email you will get an additional test account (username 10@xxxxx.vp). This account is there for you to test Push-To-Talk (PTT) and messaging between the VoicePing Teams device and your own smartphone. Download the VoicePing app on your smartphone and login with the test account.
Caution:
Do not login with the test account in your VoicePing Teams device to avoid difficulties.


Comments